
 Canada EN
 Mexico ES
Table of Contents:
What Causes Rust | Light Rust: Vinegar | Rust Spots: Baking Soda Paste | Light to Moderate: Rust Removers | Heavy Rust: Electrolysis | Preventing Future Rust | Hidden Value in Vintage Tools | Turning Rust into Revenue | Final Thoughts
Removing rust from tools is a satisfying and practical project that can restore their usefulness and extend their lifespan. Whether you're working with hand tools, garden equipment, or workshop gear, learning techniques on how to remove rust from tools can bring them back to life. This not only improves their performance and safety but also helps maintain their value over time.
Reviving rusty tools can also uncover items with personal or historical significance that might otherwise be discarded. By keeping these tools in good condition, you can continue to rely on them for years to come and even pass them down to future generations. Preserving these tools is a way to honor craftsmanship and maintain a connection to the past.
What Causes Rust on Tools

Rust forms when iron or steel reacts with oxygen and moisture, creating iron oxide. This corrosion not only weakens the metal but can also interfere with the tool's function. The good news? With the right methods, you can remove rust and prevent it from coming back.
How to Get Rid of Rust on Tools
Method 1: Remove Rust by Soaking in Vinegar
Best for:Light to moderate rust on tools
Materials Needed:
- Wire brush or steel wool
- White vinegar or lemon juice
- A plastic container large enough to soak the tools
- Clean rags or paper towels
- Protective gloves and eyewear
Process to Remove Rust by Soaking in Vinegar:
- Soak the Tools: Submerge the rusty tools in white vinegar for 12–24 hours.
- Scrub Off Rust: After soaking, use a wire brush or steel wool to scrub away the loosened rust.
- Rinse and Dry: Rinse the tools with water and dry them thoroughly.
Warning: Vinegar is acidic and could damage tools if left submerged for too long.
Method 2: Remove Rust with Baking Soda Paste
Best for: Small rust spots
Materials Needed:
- Wire brush or steel wool
- Baking soda
- Clean rags or paper towels
- Protective gloves and eyewear
Process to Remove Rust with Baking Soda Paste:
- Make a Paste: Mix baking soda with water until it forms a thick paste.
- Apply to Rust: Spread the paste over the rusted areas and let it sit for an hour.
- Scrub and Rinse: Scrub with a brush, rinse with water and dry completely.
Method 3: Remove Rust with Rust Removers

Best for: Light to heavy rust on tools or when you need fast results
Materials Needed:
- Rust remover
- A plastic container large enough to soak the tools
- Clean rags or paper towels
- Protective gloves and eyewear
Process to Remove Rust with Rust Removers:

- Soak: Soak the rusted item in a rust remover solution like CRC Evapo-Rust® Heavy Duty Rust Remover. It's important to pour enough solution into the plastic container to fully submerge the item completely. Soak times vary from 30 minutes to overnight based on the amount of rust present.

- Rinse: Always rinse thoroughly with water to remove rust remover.

Method 4: Remove Rust with Electrolysis
Best For: Heavily rusted metal on tools
Materials Needed:
- Plastic container (non-metallic)
- Water mixed with washing soda (sodium carbonate)
- Battery charger (12V DC)
- Sacrificial steel (like rebar)
- Connecting wires or clamps
- Gloves and goggles
Process to Remove Rust with Electrolysis:
- Prepare the Electrolyte: Mix a tablespoon of washing soda per gallon of water.
- Set Up Electrodes: Connect the charger's black lead to the tool and the red lead to the sacrificial metal.
- Submerge in Solution: Submerge both the tool and the sacrificial metal in the container without letting them touch each other.
- Power On: Turn on the charger and let bubbles indicate it's working. Leave for several hours.
- Clean Up: Remove the tool, scrub off loose residue and rinse thoroughly.
Warning: Always work in a ventilated space and avoid using stainless steel as the sacrificial metal.
Preventing Future Rust Buildup

After removing rust from your tools, it's important to protect them from future corrosion to preserve their integrity and extend their lifespan. Once rust is cleaned away, the exposed metal becomes more vulnerable to moisture and oxygen—key contributors to rust formation.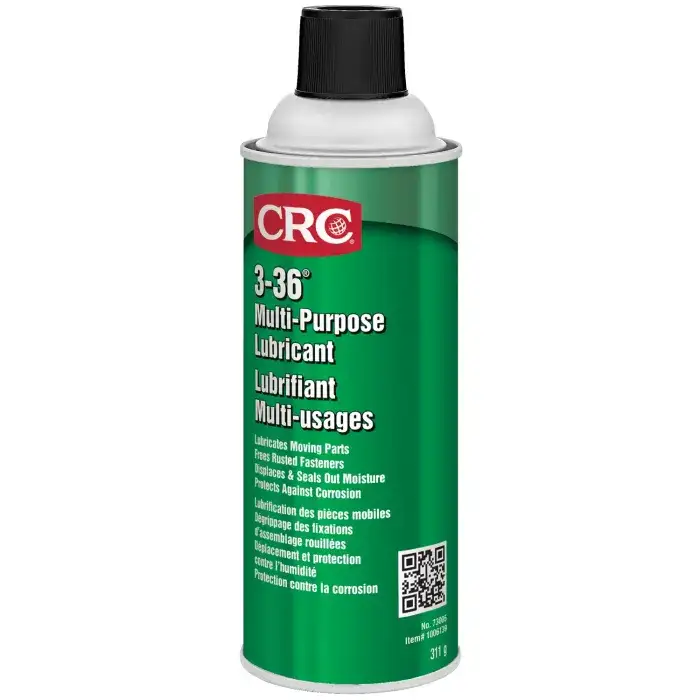
Applying a protective coating immediately after cleaning helps seal the surface and prevent oxidation. CRC offers several effective solutions for this purpose. Here are a few recommended products:
CRC 3-36® Multi-Purpose Lubricant & Corrosion Inhibitor forms a clear, thin film that lubricates and protects against wear and corrosion.
CRC Power Lube® Multi-Purpose Lubricant is a fast-acting, all-in-one product that quickly penetrates, lubricates, stops squeaks, fights corrosion & loosens rusted parts.

Uncovering Hidden Value in Vintage Tools and Items
In a world driven by fast-paced production and disposable goods, the practice of restoring old tools is often overlooked. Yet, this timeless craft offers a wealth of benefits that make it well worth the effort.
1. Cost-Effective Solutions
Buying new, high-quality tools can be pricey. Restoring older ones provides a budget-friendly alternative. With some basic skills and a bit of time, you can breathe new life into what you already own—often resulting in tools that outlast their modern, mass-produced counterparts.
2. Superior Craftsmanship
Many older tools were built with exceptional materials and attention to detail. By restoring them, you preserve their durability and functionality. These qualities are sometimes hard to find in new products.
3. Preserving History and Sentiment
Vintage items often carry personal or historical significance. Whether it's a family heirloom or a tool with a story, restoration becomes a way to honor the past and keep memories alive. These pieces can be passed down, continuing their legacy for generations.
4. Unique and Personalized Appeal
Restored items have a distinct charm that sets them apart from factory-made goods. Each piece reflects the care and creativity invested in its revival, adding character to your space and making your collection truly one-of-a-kind.
5. Eco-Friendly Impact
Choosing restoration over replacement is a sustainable choice. It reduces waste, conserves resources and lowers the environmental footprint associated with manufacturing new products. Giving old items a second life is a simple yet powerful way to support a greener planet.
Turning Rust into Revenue: How to Profit from Restoring Old Items
In an age where sustainability and craftsmanship are gaining renewed appreciation, restoring rusted and forgotten items has evolved from a niche hobby into a profitable business. Whether you're a DIY enthusiast or an aspiring entrepreneur, here's how you can turn rusty treasures into real income.
1. Spotting Hidden Gems
The journey begins with finding items that hold potential. Keep an eye out for well-made tools, bicycles, cast-iron cookware and vintage household goods that have been neglected over time. Great sources include flea markets, garage sales, antique shops and online marketplaces. Focus on items known for their durability and timeless design, as they're more likely to attract buyers once restored.
2. Equipping Your Workshop
Having the right tools makes all the difference. Start with essentials like rust removers, sandpaper, and wire brushes. As your business grows, consider investing in power tools, polishing equipment, or even electrolysis tanks for more advanced restorations. These tools can significantly boost your efficiency and the quality of your work.
3. Mastering the Craft
To succeed in restoration, you'll need to develop skills in rust removal and material repair. Now that you have the materials and tools required for restoration, it's time to learn how to use them. As your technique improves, so will the quality of your finished products—leading to higher resale value and customer satisfaction.
4. Showcasing and Selling Your Work
Presentation is key. Take high-quality photos and write compelling descriptions that highlight the uniqueness and functionality of your restored items. Use platforms like Etsy, eBay and Facebook Marketplace to reach a broad audience. You can also sell locally at antique fairs, craft shows or through consignment shops.
5. Offering Custom Restoration Services
Beyond selling finished pieces, consider offering custom restoration services. Many people own sentimental or vintage items they'd love to see restored but lack the time or skills to do it themselves. Providing this service can create a new revenue stream and build long-term client relationships.
6. Pricing for Profit
Setting the right price involves balancing your time, material costs and the market value of the item. Research similar listings to stay competitive, and don't undervalue your craftsmanship. As your reputation grows, so can your pricing power.
Final Thoughts on Removing Rust from Tools
Restoring old tools offers a wide range of benefits—from saving money and reducing waste to preserving craftsmanship and mechanical heritage. It's a hands-on, rewarding process that not only sharpens your practical skills but also brings character and history back into your workspace.
By taking the time to restore tools, you breathe new life into items that might otherwise be forgotten. Beyond the satisfaction of a job well done, your restoration efforts could even evolve into a profitable side hobby.